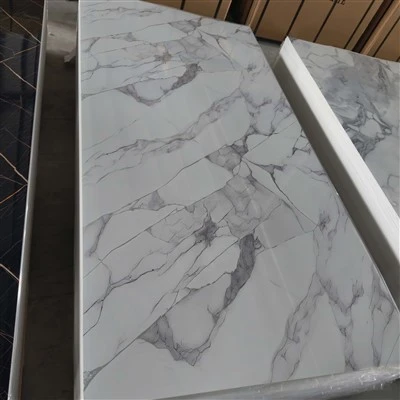
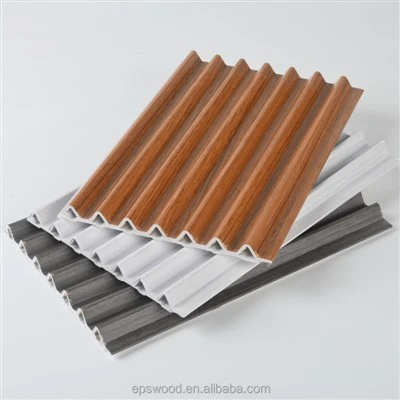
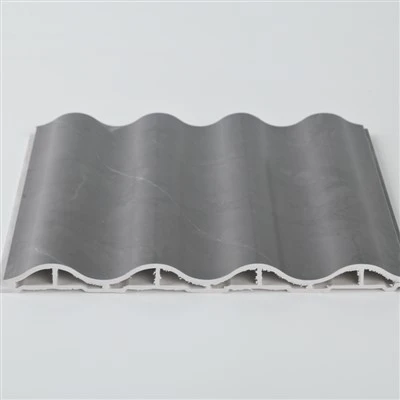
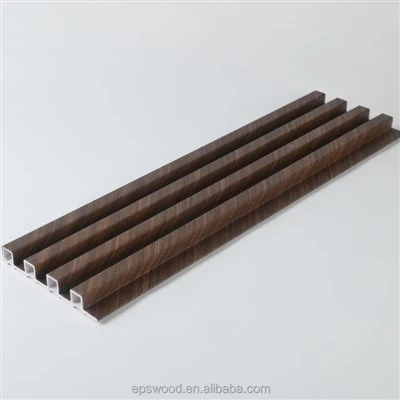
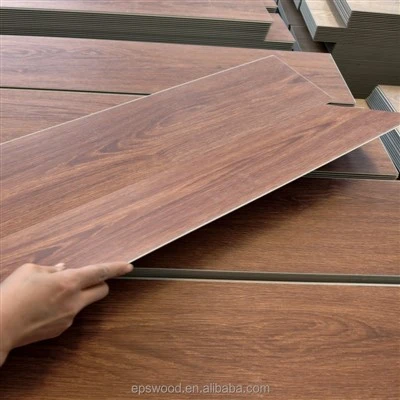
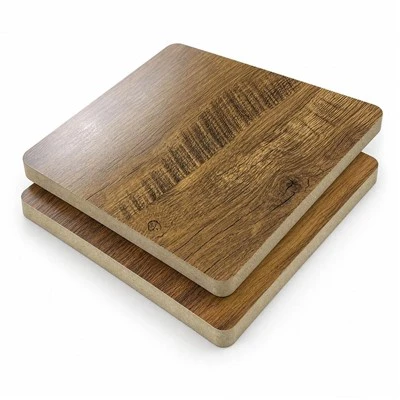
Melamine‑faced chipboard (MFC) is one of the most workshop‑friendly materials you can use – fast to machine, pre‑finished, and highly stable. But it is not solid wood, and treating it like solid wood leads to frustrating defects: chipped melamine surfaces, swollen edges, and failed edge banding.
After supporting hundreds of cabinet shops and furniture factories, we have compiled the seven most common – and costly – mistakes fabricators make with chipboard laminates. Good news: every single one is avoidable.
Mistake #1 – Cutting without a scoring pass
The result: Ugly chips and flakes along the cut line, especially on dark decors.
The fix: Always make a shallow scoring cut (2‑3 mm deep) along the cut line before the full‑depth pass. Industrial panel saws have a built‑in scoring unit. In a workshop, run a sharp utility knife guided by a straight edge, or set your circular saw to 3 mm depth for the first pass.
Mistake #2 – Using a dull or wrong blade
The result: Rough, torn edges and burn marks.
The fix: Use a TCT (tungsten carbide tipped) blade with at least 80 teeth for a 10‑inch blade. Alternate‑top‑bevel (ATB) geometry works best. Replace blades as soon as you see increased resistance – dull blades crush rather than cut the melamine layer.
Mistake #3 – Skipping edge banding on exposed cuts
The result: After a few months, the chipboard core absorbs moisture, swells, and the panel becomes unusable.
The fix: Seal all six edges of any MFC panel that goes into a kitchen, bathroom, or any space with humidity changes. Use matching PVC or ABS edge banding (1‑3 mm). Even the back edges of cabinet carcasses must be sealed – moisture finds unsealed cores.
Mistake #4 – Not pre‑drilling for screws
The result: Blown‑out core, loose fixing, or a split panel face.
The fix: Always pre‑drill pilot holes. Use a drill bit diameter equal to 90% of the screw's core diameter. Better yet, switch to cam and dowel joinery for flat‑pack furniture or Confirmat screws for heavy‑load applications – both are designed specifically for chipboard.
Mistake #5 – Overheating or under‑heating edge banding
The result: Banding that peels off after a few days (cold glue) or melted/marred melamine surface (too hot).
The fix: For iron‑on melamine tape, set your household iron to medium heat, no steam. Move slowly along the edge (approx. 30 mm per second). Immediately press with a J‑roller or a clean wooden block. Let it cool for 30 seconds before trimming.
Mistake #6 – Trimming edge banding with a dull knife
The result: Ragged banding edges that peel later, or accidental scoring of the panel face.
The fix: Use a sharp razor knife or a dedicated edge trimmer. For a flush trim, lay the panel flat with the banding overhanging the bench edge. Run the knife along the panel surface – not into it. For production volumes, a small edge banding trimmer tool is well worth the investment.
Mistake #7 – Ignoring acclimatisation
The result: Panels that warp slightly or show "ghosting" after installation because they were cut while cold/dry.
The fix: Store chipboard laminate panels in the same room as the installation or workshop for at least 48 hours at around 20°C (68°F) and 50‑70% relative humidity. Never cut panels straight from a cold warehouse – they become brittle and chip far more easily.
Bonus: Professional‑grade edge sealing for wet areas
For bathrooms, laundry rooms, or commercial kitchens, standard PVC banding may not be enough. We recommend ABS edge banding (more impact‑resistant and chlorine‑free) plus a thin bead of moisture‑cured PU sealant along the joint between banding and melamine face. This combination creates a virtually watertight panel.
Need help with fabrication training or pre‑machined panels?
We supply chipboard laminates that are ready‑to‑assemble: cut to exact size, edge‑banded on all four sides, and even pre‑drilled for cam locks. Save workshop time and eliminate on‑site mistakes.