Installing veneer MDF cabinets is a rewarding project that can transform the look and functionality of your space. As a trusted Veneer MDF supplier, I'm here to guide you through the process, ensuring a successful installation that meets your expectations. In this blog post, I'll share step-by-step instructions, tips, and insights to help you achieve professional results.
Understanding Veneer MDF
Before diving into the installation process, it's essential to understand what veneer MDF is and why it's a popular choice for cabinets. Veneer MDF combines the strength and stability of medium-density fiberboard (MDF) with the natural beauty of wood veneer. MDF is a composite material made from wood fibers bonded together with resin under high pressure and temperature. It offers several advantages, including uniform density, smooth surface, and excellent machinability.
The wood veneer is a thin layer of real wood that is applied to the surface of the MDF, giving it the appearance of solid wood. Veneer MDF cabinets are not only aesthetically pleasing but also more affordable than solid wood cabinets. They are available in a wide range of wood species, finishes, and colors, allowing you to customize the look of your cabinets to match your decor.
Tools and Materials You'll Need
To install veneer MDF cabinets, you'll need the following tools and materials:
- Measuring tape
- Level
- Drill
- Screwdriver
- Saw
- Clamps
- Adhesive
- Screws
- Cabinet hardware (hinges, handles, etc.)
- Veneer MDF panels
- Backer board (optional)
Step 1: Measure and Plan
The first step in installing veneer MDF cabinets is to measure the space where you want to install them. Use a measuring tape to measure the height, width, and depth of the area. Make sure to measure accurately to ensure that the cabinets fit properly.

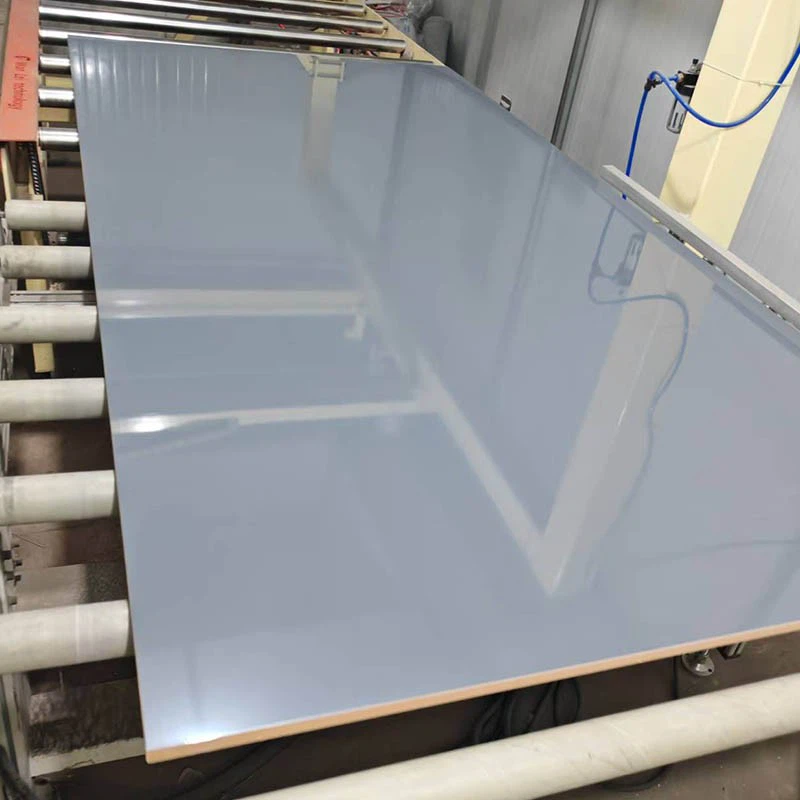
Once you have the measurements, create a detailed plan for the layout of the cabinets. Consider the location of appliances, plumbing, and electrical outlets, as well as the overall design and functionality of the space. Sketch out the layout on paper or use a cabinet design software to visualize the final result.
Step 2: Prepare the Wall
Before installing the cabinets, you need to prepare the wall. Start by removing any existing cabinets, shelves, or fixtures from the wall. Use a stud finder to locate the wall studs and mark their positions with a pencil. The wall studs will provide the support for the cabinets, so it's important to attach the cabinets to them.
If the wall is not level, you may need to shim it to ensure that the cabinets are installed straight. Use a level to check the wall for plumb and level. If necessary, use shims to adjust the height of the cabinets until they are level.
Step 3: Cut the Veneer MDF Panels
Once you have the measurements and the wall is prepared, it's time to cut the veneer MDF panels to the appropriate size. Use a saw to cut the panels according to your measurements. Make sure to wear safety goggles and a dust mask to protect yourself from the sawdust.
When cutting the panels, be careful not to damage the veneer. Use a sharp blade and make slow, steady cuts. If you need to make curved cuts, you can use a jigsaw or a band saw.
Step 4: Assemble the Cabinets
After cutting the panels, it's time to assemble the cabinets. Start by attaching the sides, top, and bottom of the cabinets using screws or adhesive. Make sure to align the panels properly and use clamps to hold them in place while the adhesive dries.
Once the basic structure of the cabinets is assembled, you can install the shelves and drawers. Use a drill to attach the shelves and drawers to the cabinet sides. Make sure to use the appropriate hardware and follow the manufacturer's instructions.
Step 5: Install the Cabinets
With the cabinets assembled, it's time to install them on the wall. Start by positioning the cabinets in the desired location and using a level to check them for plumb and level. Once the cabinets are level, use screws to attach them to the wall studs. Make sure to drive the screws into the studs for a secure installation.
If you're installing multiple cabinets, you may need to connect them together using screws or brackets. Make sure to align the cabinets properly and use a level to ensure that they are all level and plumb.
Step 6: Install the Cabinet Hardware
After installing the cabinets, it's time to install the cabinet hardware, such as hinges, handles, and pulls. Use a drill to attach the hardware to the cabinets. Make sure to use the appropriate hardware and follow the manufacturer's instructions.
When installing the hinges, make sure to align them properly and adjust them so that the cabinet doors open and close smoothly. You may need to use a screwdriver to adjust the hinges if necessary.
Step 7: Finish the Cabinets
Once the cabinets are installed and the hardware is in place, it's time to finish the cabinets. You can apply a coat of paint or stain to the cabinets to protect the veneer and give them a finished look. Make sure to choose a paint or stain that is compatible with the veneer and follow the manufacturer's instructions.
If you prefer a natural look, you can apply a clear finish to the cabinets to enhance the beauty of the wood veneer. A clear finish will also protect the veneer from scratches and stains.
Tips and Tricks
- Use a quality adhesive: When attaching the veneer to the MDF, make sure to use a quality adhesive that is specifically designed for veneer. This will ensure a strong and durable bond.
- Sand the edges: Before installing the cabinets, sand the edges of the veneer MDF panels to smooth them out. This will prevent the veneer from chipping or peeling.
- Use a router: If you want to add a decorative edge to the cabinets, you can use a router to create a bevel or a roundover. This will give the cabinets a more professional look.
- Take your time: Installing veneer MDF cabinets is a time-consuming process, so it's important to take your time and do it right. Rushing through the installation can lead to mistakes and a less-than-perfect result.
Conclusion
Installing veneer MDF cabinets is a challenging but rewarding project that can enhance the look and functionality of your space. By following these steps and tips, you can install your cabinets like a professional and achieve a beautiful, long-lasting result.
If you're interested in purchasing veneer MDF panels for your next cabinet project, we're here to help. As a leading Veneer MDF supplier, we offer a wide range of high-quality products at competitive prices. Whether you need Raw MDF, MDF 2440x1220, With A Sand-finished Surface, Moisture-resistant, And Featuring A Modern Design, Is A Fiberboard Product, or High Quality 18mm Medium Density Fiberboard (MDF) Furniture, we have the products you need to bring your vision to life.
Contact us today to learn more about our products and services, and let's start planning your next cabinet project together.
References
- Woodworking Magazine. (Year). "Installing Veneer MDF Cabinets: A Step-by-Step Guide."
- Home Improvement Handbook. (Year). "Tips and Tricks for Installing Veneer MDF Cabinets."